Pages

Tuesday 12 December 2017

PTU Have a Beary Christmas PTU

Have a Beary Christmas
jennbearychristmas
This tutorial was written by me fairygem/Sharon on the 11th December 2017 and is all my own idea and creation. Any resemblance to other tutorials is purely coincidental and not intended. You will need to have a working knowledge of Paint Shop Pro for this tutorial.

You will need:-

Paint Shop Pro - I am using X5 but any version will work.
Scrap Kit - I am using a gorgeous kit by Jenn at Ginnibug Designz called Beary Christmas. You can buy this kit at Hania's Design HERE.
Tube of Choice - I am using a sexy tube by Keith Garvey called Elf. You can buy this tube at Keith's store HERE. Please remember that you need a working license to use Keith's Art.
Mask of Choice - I am using a lovely Christmas mask by Lori at Lori's PSP Graphics. The mask is called LLM-804 and can be downloaded HERE.
Font of Choice - I am using Shifty_Chica_2 which you can download HERE.
Image of Choice - I am using a winter image from SXC.HU which you can find in Google Search. Remember to put © on your tag so that people know where you got the image from.

Ok Open your tube in psp and Lets Begin:-

1. Open new image 650x650 transparent

2. Open Paper 2, Resize by 80%. Copy and Paste as a new layer. Layers load Mask and find the mask you are using. Delete Mask layer and merge group.

3. Open Element 82, resize by 70%. Copy and Paste as a new layer moving to the right. With your Pick Tool go to the top left corner of the frame. Press Shift and move the frame down by 2 squares. Now do the same with the bottom left part of the frame only move up by 2 squares. Make sure you keep your shift pressed when moving the frame. You window should now look like mine. Drop Shadow V4, H2, Opa 40, Blur 4.65 Black.
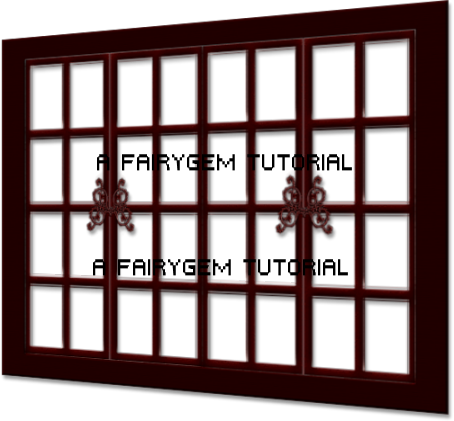
Window Screenshot

4. With your freehand tool draw around the window part of the frame. Expand by 6. Open your image and resize - I resize mine by 65%. Copy and Paste as a new layer placing what part of your image you would like to see. Invert and delete overhanging. Move under your frame layer.

5. Open Element 2, Resize by 80%. Copy and Paste as a new layer moving over to the right. Sharpen and D/S as above.

6. Open your Tube and if using the same as mine Resize by 85%. Copy and Paste as a new layer moving left. D/S as above.

7. Open Element 8, Resize by 40%. Copy and Paste as a new layer placing at top right side of frame. D/S as above.

8. Open Element 36, Resize by 75%. Copy and Paste as a new layer moving to top of frame. On layer palette move this under your tube and tree layer. D/S as above.

9. Open Element 42, Resize by 45%. Copy and Paste as a new layer moving next to the tube. On layer palette move under tube. D/S as above.

10. Open Element 11, Resize by 65%. Copy and Paste as a new layer moving slightly right. D/S as above.

11. Open Element 83, Resize by 60%. Copy and Paste as a new layer moving down and in front of tube. D/S as above.

12. Open Element 30, Resize by 35%. Image free rotate and rotate by 12 Right. Copy and paste as a new layer moving right. Duplicate and resize by 85%. Mirror and move slightly down. Merge Down and D/S as above.

13. Open Element 31, Resize by 25% then 55%. Free Rotate by 15% left. Copy and Paste as a new layer moving down. Duplicate and resize by 90%. Move slightly left. Merge down and D/S as above.

14. Add Copyright and License Details.

15. Add name using Shifty_Chica_2 and colour #8a0218 with stroke #1 and colour #00000.

Save as a PNG

Thats it we are done. I hope you enjoyed my tutorial and found it easy to follow. Any Questions or Queries please don't hesitate to get it touch. Remember though this is a guideline make the tag your tag with your own touches.
Hugs
fairygem/Sharon




Monday 11 December 2017

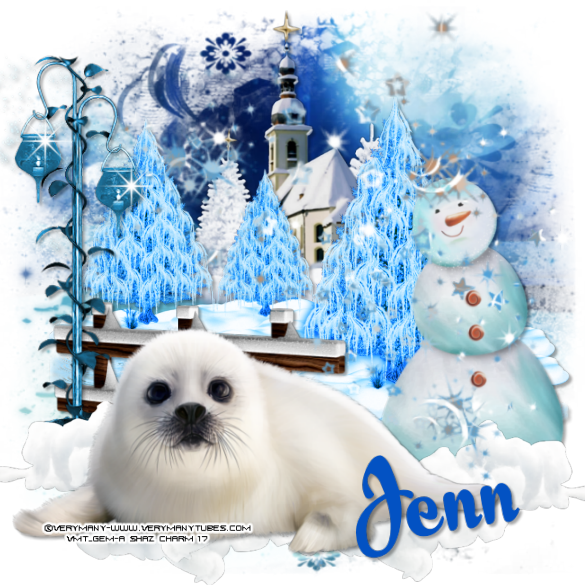
PTU Winter Baby PTU

Winter Baby
jennwinterbaby 
This tutorial was written by me Fairygem/Sharon on the 11th December 2017 and is all my own idea and creation. Any resemblance to other tutorials is purely coincidental and not intended. You will need to have a working knowledge of Paint Shop Pro and the program for this tutorial.
 
You will need:-
Paint Shop Pro - I am using X5 but any version will work.
Scrap Kit - I am using a gorgeous Winter kit by Jenn at Ginnibug Designz called Winter Baby. You can buy this kit at Hania's Designs HERE
Tube of choice -  I am using the cute tube Baby Seal by VeryMany which you can buy HERE. Please remember you need to have a license to use her artwork.
Mask of Choice - I am using a beautiful mask by Mille at MilliesPspMadness. The mask is called MPM_Mask101 and you can get it HERE
Font of Choice - I am using Scarlet Ribbon which you can get HERE 
 
Ok Lets Begin:-
 
1. Open New Image 650x650 Transparent
 
2. Open Paper 5 from your kit and resize by 85%, then Mirror. Copy and Paste as a new layer. Layers Load Mask and find the mask you are using. Delete mask layer and merge group.
 
3. Open Element 39, Resize by 45%. Copy and Paste as a new layer moving slightly up. Sharpen and Drop Shadow of V3, H3, Opa 35, Blur 3.85 Black.
 
4. Open Element 29, Mirror. Copy and Paste as a new layer moving slightly up. (You might need to move the church slightly higher so that its seen). D/S as above.
 
5. Open Element 3, Resize by 90% then Mirror. Copy and Paste as a new layer moving up and over to the left. D/S as above.
 
6. Open Element 5, Resize by 45%. Copy and Paste as a new layer moving over to the right. D/S as above.
 
7. Open Element 10, Resize by 75%. Copy and Paste as a new layer moving over to the Snowman. Duplicate and move slightly centre, Duplicate again, Mirror and move over to the left. On Layer Palette merge down twice.
 
8. Open Element 33, Resize UP by 120%. Copy and Paste as a new layer moving over to the left. Move Layer below Snow. D/S as above.
 
9. Go to Brushes and find a Sparkle Brush - If you don't have any you can find some stunners on Deviantart.com. Just type in Sparkle Brushes in the search engine. Add a new layer and with Foreground on White add a sparkle to each shade.
 
10. Open Element 83. Copy and Paste as a new layer moving over to the right.
 
11. Open your Tube and if using the same as me Resize by 45% then 85%. Copy and Paste as a new layer moving down and over to the left. D/S as above.
 
12. Add your Copyright and License details.
 
13. Add your name using Scarlet Ribbon font and colour #0352c3.
 
Save as a PNG
 
That's it we are done. I hope you enjoyed my tutorial and found it easy to follow. Remember though this is your tag so make it with your own wee touches. If you have any Questions or Queries don't hesitate to ask. I would love to see your results so please feel free to send me them and i will get them added
 
Hugs 
Fairygem/Sharon


Saturday 2 December 2017

PTU Santa Baby PTU

Santa Baby
JennSantaBaby
This tutorial was written by me Fairygem/Sharon on the 1st December 2017 and is all my own idea and creation. Any resemblance to other tutorial is purely coincidental and not intended.
For this tutorial you will need:-
Paint Shop Pro - I am using X5 but any version will work
Scrapkit of Choice - I am using a beautiful kit by Jenn at Ginnibug Designz called Santa's Sweetheart. You can buy this kit at Hania's Design HERE
Tube of Choice - I am using the wonderful artwork of Keith Garvey. The tube is called Noel and you can buy this at Keith's online shop HERE. Please remember if you are using the same tube you must have the proper license details.
Mask of Choice - I am using one of Vix's masks called Vix'sBigMask019. You can get this mask HERE
Font of Choice - I am using Bu Glenda which you can download HERE.
Plugins:-
Mura Miester - Copies
Ok lets begin:-
1. Open New Image 650x650 transparent
2. Open Paper 1, resize by 80%. Copy and Paste as a new layer. Load Mask and find your mask. Delete the Mask Layer and Merge Group.
 
3. Open Element 8 and resize up by 120%. Copy and Paste as a new layer. Drop Shadow V2, H3, Opa 30, Blur 6.75 Black.
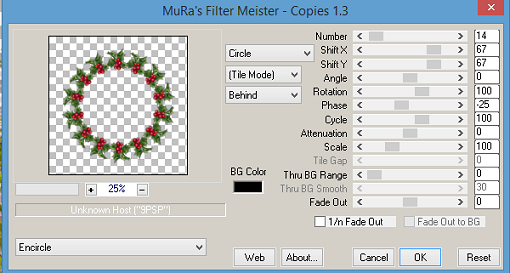
4. Open Element 13, resize by 35% then 65%. Copy and Paste as a new layer. Effects Plugins Mura Miester Copies, Encircle with settings Below. Drop Shadow as Above.
muramiestercopiesSBaby
5. Go to Freehand Selection tool. Draw a circle round the Holly Frame, right click until you have the marching ants showing.
6. Open Paper 4, resize by 75%. Copy and Paste as a new layer moving the paper to where you would like it showing. Invert and Delete. Move your paper under both frames.

7. Open your Tube and if using the same as me resize the whole tube by 75%. Copy and Paste as a new layer moving over to the right. D/S as above.

8. Open Element 41, resize by 45% then 70%. Copy and Paste moving up and left. D/S as above.

9. Open Element 29, resize by 85%. Copy and paste as a new layer moving over to the left. On layer palette move this under your tube. Sharpen and D/S as above.

10. Open Element 50, resize by 45%. Copy and paste as a new layer moving down. D/S as above.

11. Open Element 64, resize by 45%. Copy and paste as a new layer moving down. Sharpen then D/S as above.

12. Open Element 66, resize by 45% then 70%. Copy and paste as a new layer moving down and left. Sharpen and D/S as above.

13. Open Element 12. Copy and Paste as a new layer moving left a wee bit.

14. Add your Copyright and License details.

15. Add your name using the font and colour #480607.

Save as a PNG.

That's it we are finished. 
I hope you enjoyed my tutorial and found it easy to follow, remember though this is just a guideline make your own personal touches to your tag.
I would love to see your results and add them to the post so please feel free to message me with your results.
Hugs 

Fairygem/Sharon
 

Tuesday 21 November 2017

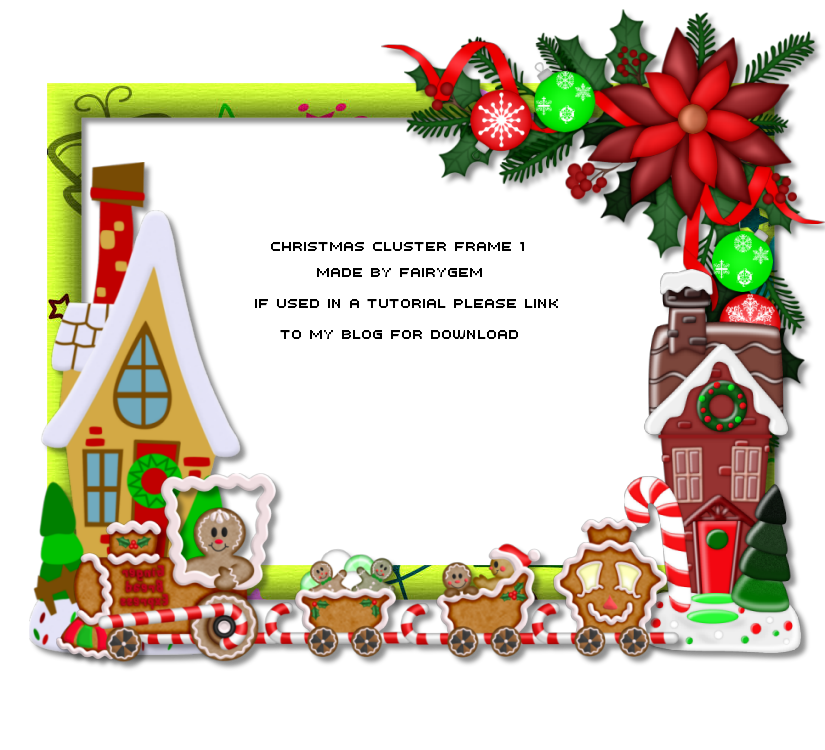
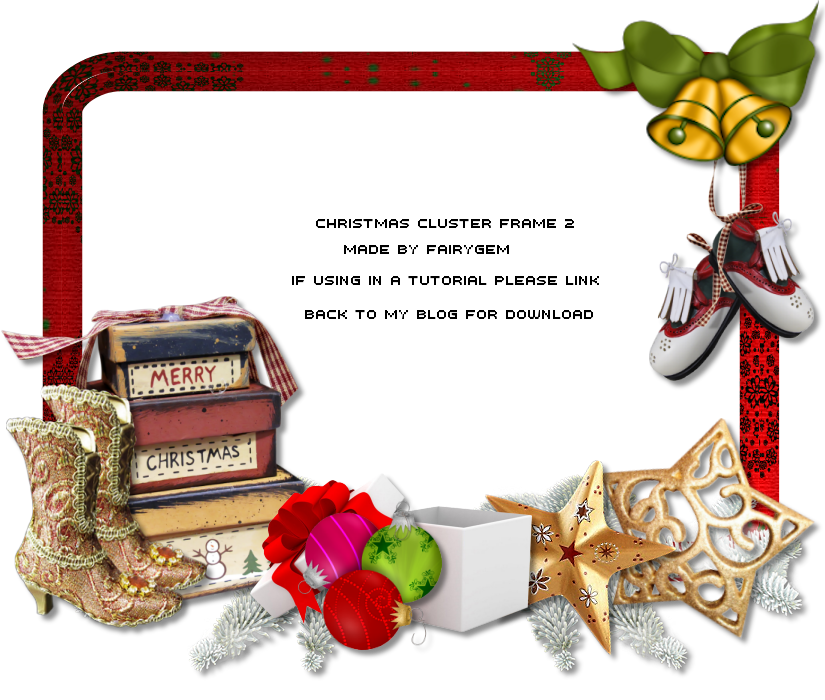
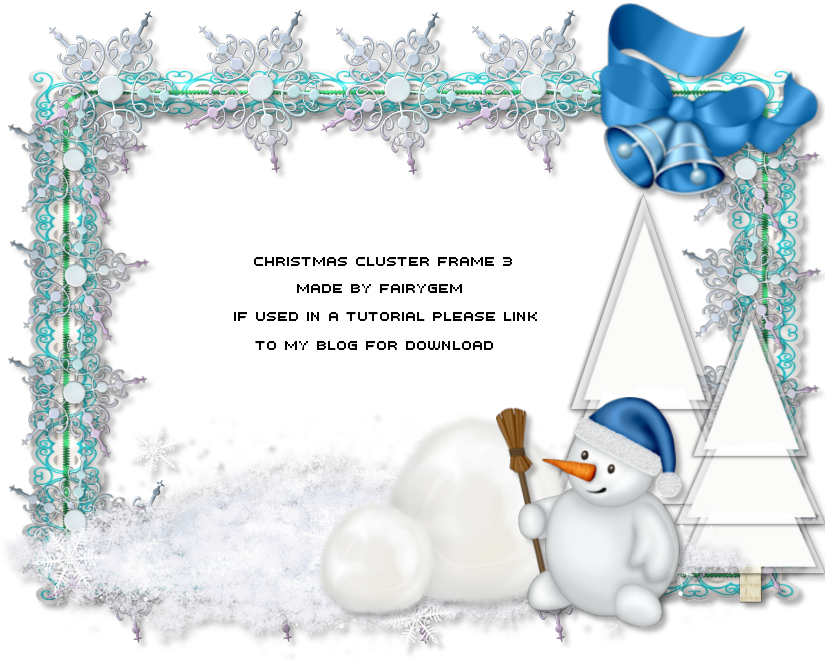
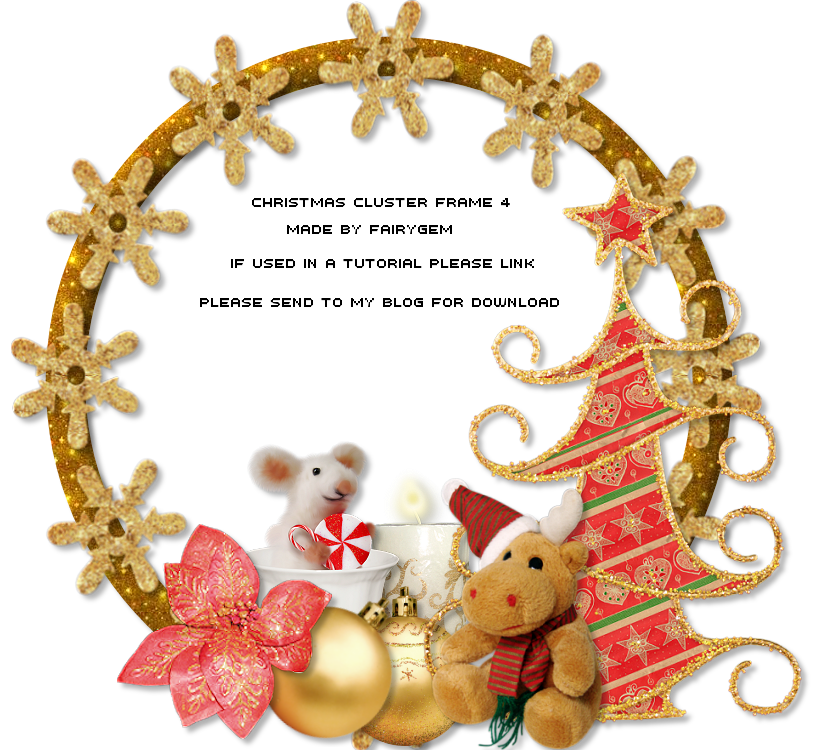
4 Christmas Cluster Frames

Here are 4 Christmas Cluster frames for you to use
Just right click and save as png.
Remember though if you use them in a tutorial please send taggers to my blog for download. I would love to see what you come up with using them so please feel free to message me and i will get your tag added and linked to you
Hugs 
Gem/Sharon
Christmas Frame 1
Christmas Frame 2
Christmas frame 3
christmas Frame 4

Saturday 18 November 2017

Masks


I found a few Masks that i made absolutely ages ago so thought i would share them with you
The first is my first attempt at Grunge and the other 3 are called 
Starry Nights
To save right click and save image as
Have fun using them 
Hugs
Gem/Sharon
grunge mask 1 fairygemcreates
starry night mask 1 fairygemcreates
starry night mask 2 fairygemcreates
starry night mask 3 fairygemcreates

Xmas Masks

A few Christmas Masks that i made 
To save right click and save image as
Have fun with these but please remember if used in a tutorial to send to my blog for download
Hugs
Gem/Sharon
xmas mask 4
xmas mask 1
xmas mask 2
xmas mask 3

Friday 17 November 2017

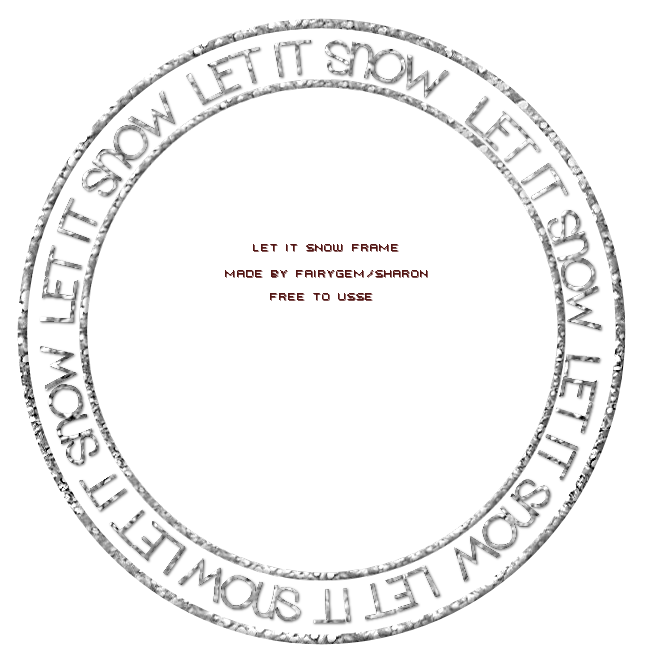
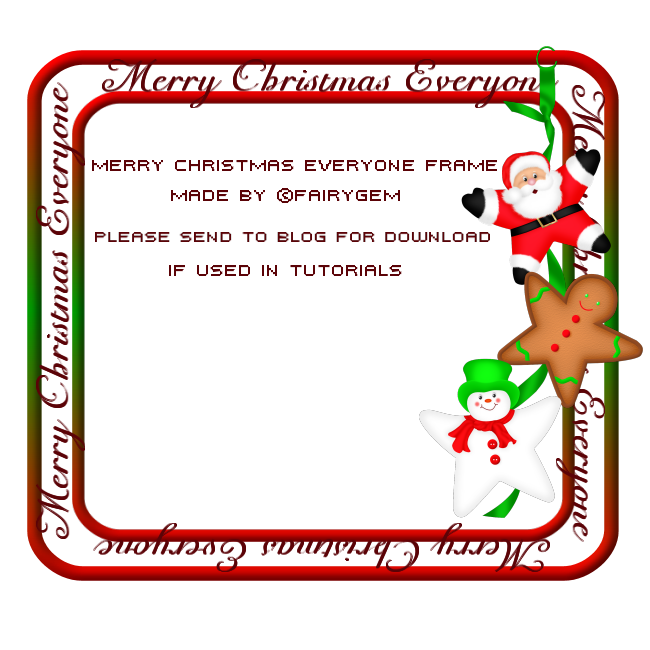
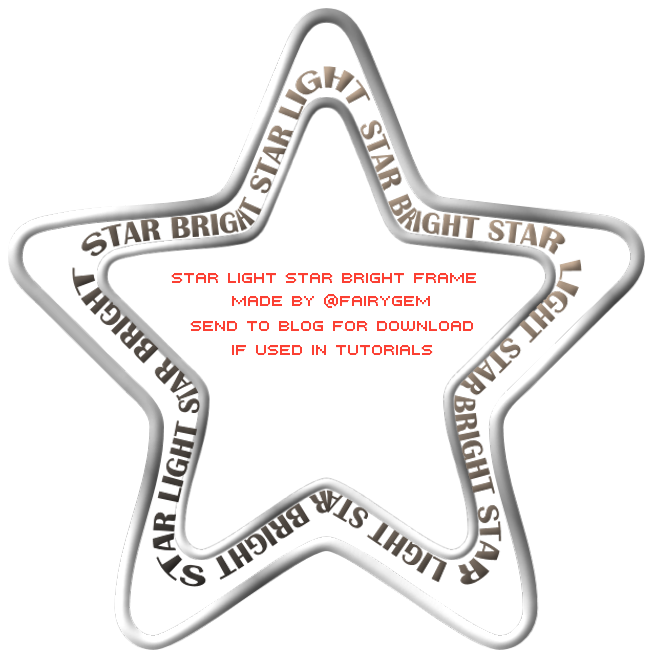
FTU Christmas Frames

A Friend of mine was looking for a frame that was in a tutorial but it wasn't available anymore so i gave it a go and came up with my own version. Then i messed around and made another 2 to go with it. 
Hope you like. To save right click and Save Image as
If using in a tutorial please send to my blog for download 
Have fun and would love to see your results
Hugs
Gem/Sharon

Let it snow Frame
letitsnowframe
Merry Christmas Everyone Frame
merrychristmasframe
Star Light Star Bright Frame
starlightstarbright frame


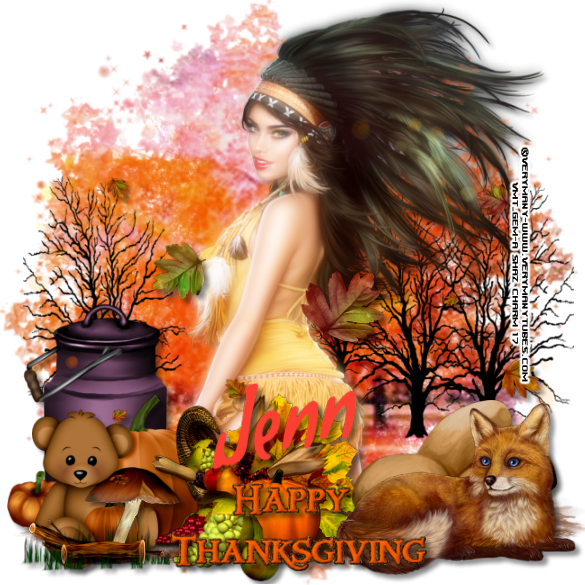
PTU Little Indian PTU


Little Indian
jennlittleindian

This tutorial was written by me Fairygem/Sharon on the 17th November 2017 and is all my own idea and creation. Any resemblance to other tutorials is purely coincidental and not intended. You will need to have a working knowledge of Paint Shop Pro and working with layers.

For this tutorial you will need:-

Paint Shop Pro – I am using X5 but any version will work

Scrapkit – I am using a beautiful Thanksgiving kit by Jenn at Ginnibug Designz called Indian. You can buy this kit at Hania’s Design HERE or Picsfordesign HERE

Tube of Choice – I am using a gorgeous indian tube by Verymany called Aiyana. You can buy this tube HERE. Remember though you need to have a license to use Verymany’s tubes.

Mask of Choice – I am using a beautiful mask by Mizteeque called Miz_Mask_195. You can get this mask and more from HERE

Font of Choice – I am using Condiment Regular which you can get HERE

No outside plugins used.


Lets begin:-


1.   Open new image 650x650 transparent.

2.  Open Paper 15, resize by 85%. Copy and paste as a new layer. Load Mask and find the mask you are using. Delete mask layer and merge group.

3.  Open your tube, if using the same as me resize by 55% then 75%. Copy and paste as a new layer. Duplicate and on the copy go to adjust, Blur, Gaussian blur 6.00. Change the blend mode to Screen. On the original give a drop shadow of H5, V5, Opa 44, Blur 6.75 Black.

4.  Open Element 55. Copy and paste as a new layer moving under the tube layer.

5.  Open Element 32. Copy and paste as a new layer moving slightly right and down to the bottom of tube. Duplicate and mirror. Merge Down.

6.  Open Element 78, resize by 55%. Copy and Paste as a new layer moving left. D/s as above.

7.  Open Element 18, resize by 35%. Copy and paste as a new layer moving left. D/s as above.

8.   Open Element 17, resize by 55% then 75%. Copy and paste as a new layer moving down. D/s as above.

9.   Open Element 24, resize by 55% then 75%. Copy and paste as a new layer moving right and slightly up. D/s as above.

10.               Open Element 30, resize by 45% and mirror. Copy and paste as a new layer moving right. Sharpen and D/s as above.

11.                Open Element 6, resize by 30%. Copy and paste as a new layer moving to far right of image. Sharpen and D/s as above.

12.               Open Element 22. Copy and paste as a new layer. Sharpen and D/s as above.

13.               Open Element 68, resize by 55%. Copy and paste as a new layer moving down. D/s as above.

14.               Open Element 74. Copy and paste as a new layer.

15.               Add your Copyright and license details

16.               Add your name using Condiment font and colour #fb4033. D/s as above.

Save as a png


That’s it we are done. I hope you enjoyed my tutorial and found it easy to follow. Remember though this is just a guideline make the tag your own.

Hugs

Saturday 11 November 2017

PTU Sunflowers in Autumn PTU


Sunflowers in Autumn

Jennsunflowersinautumn


This tutorial was written by me Fairygem/Sharon on the 9th November 2017 and is all my own idea and creation. Any resemblance to other tutorials is purely coincidental and not intended. You will need to have a working knowledge of Paint shop pro.

You will need:-

Paint Shop Pro – I am using X5 but any version will work.

Scrapkit – I am using an awesome Autumn kit by Jenn at Ginnibug Designz called Sunflower Days. You can buy this kit at Hania’s Designs HERE

Tube of Choice – I am using a stunningly cute tube by Lorri Kajenna called Sunflower. You can buy this tube at Picsfordesign HERE

Mask of Choice – I am using an awesome Autumn mask by Tonya called Falling Leaves. You can find this mask on Tonya’s blog HERE

Font of Choice – I am using Great Vibes Regular. You can google for this font.


Lets Begin:-

1.  Open new image 650x650. You can resize when finished if you so wish.

2.  Open Paper 11, resize by 85%. Copy and paste as a new layer. Load Mask and find your mask. Delete mask layer and merge Group.

3.  Open Element 2. Copy and Paste as a new layer. Image free rotate and rotate by 12 right, all layers unchecked, rotate single layer around canvas centre checked.

4.  Magic wand, click inside frame, Modify Expand by 10. Open Paper 12, resize by 70%. Copy and paste as a new layer moving paper into frame. Once happy with position Invert and delete overhanging. Selections None. Give frame drop shadow V2. H3, 35, 11.93, Black.

5.  Open Element 39, resize by 85%. Copy and paste as a new layer, move down and right. Duplicate and on layers moved down behind the frame then over to the left.

6. Open Element 40, resize by 85%. Copy and paste as a new layer moving over to the right. Drop Shadow as above.

7. Open Element 17, resize by 55%. Copy and paste as a new layer moving over to the left. D/s

8.  Open Element 35, resize by 50% then 80%. Copy and paste as a new layer moving over to the left.

9.  Open your tube and if using same as mine resize by 55% x2. Copy and paste as a new layer moving down slightly. D/s

10.              Open Element 19, resize by 55% then 65%. Copy and paste as a new layer placing at bottom of frame on the right. Duplicate and resize by 85% moving up. Duplicate again and resize by 85% moving up again. Merge all sunflowers together Sharpen and D/s.

11.              Open Element 41, Copy and paste as a new layer moving to bottom of image. Sharpen and D/s

12.              Open Element 37, resize by 35% then 45%. Copy and paste as a new layer moving over to the right. Duplicate and resize by 80%, mirror and move down to the bottom sunflower. Sharpen both and D/s

13.              Open Element 56, resize by 65%. Copy and paste as a new layer. Mirror and move over to the left top frame. D/s

14.             Add your copyright and license details

15.              Add your name using Great Vibes and colour #0a6095. Give a wee glow and Drop shadow as above.


Ok that’s it we are done.

Hope you found my tutorial easy to follow just remember this is only a guideline make you’re tag yours. Any questions or queries please don’t hesitate to ask.

Hugs

Gem/Sharon